| id | mapping-namecheap |
|---|---|
| title | Mapping Domain from Namecheap |
This section covers how to map a domain hosted or purchased on Namecheap to Hashnode.
- Create an account on NameCheap.
-
Purchase your preferred domain (example
edidiongasikpo.com). -
After completing the purchase, you will be redirected to the product page. Here, you will see your domain.
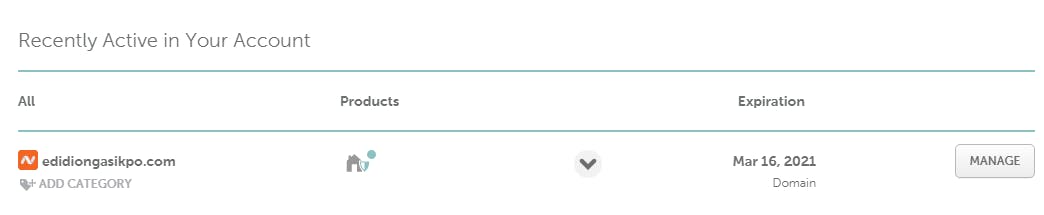
- Click on the Manage button next to your domain to access the DNS management page.

-
Navigate to the Advanced DNS tab.
-
Click on the Add New Record button in the Host Records section.
-
Select CNAME Record from the drop-down menu. Enter
@under host,hashnode.networkunder target, and a TTL of 30 minutes. -
Next, select A Record from the drop-down menu. Enter @ under the host, 76.76.21.21 under the value, and TTL of 30 minutes.
-
Check for the section titled NAMESERVERS, click the drop-down menu and select Custom DNS. Two input fields will be revealed,and add the texts below in the input fields.
ns1.vercel-dns.com
ns2.vercel-dns.com
Domain propagation (the process whereby nameservers update across the internet to reflect a change in a domain's DNS record) takes 0 - 48 hours to start working in all locations across the internet. Once your domain propagates, we will automatically provision an SSL certificate for you when you visit your blog for the first time.