Skip to content

Latest commit


History

History
384 lines (316 loc) · 10.3 KB

File metadata and controls

384 lines (316 loc) · 10.3 KB

JS, DOM Micro Tasks

  1. Color a span/div element content when a user moves the mouse over the element.
<title>Color Change on Hover</title> <style> /* CSS styles for the element */ .hover-element { display: inline-block; /* or block, depending on your layout needs */ padding: 10px; background-color: #f0f0f0; /* Default background color */ cursor: pointer; /* Optional: Change cursor to pointer on hover */ } </style> Hover over me! <script> function changeColor(element) { element.style.backgroundColor = 'lightblue'; // Change background color on mouse over } function restoreColor(element) { element.style.backgroundColor = '#f0f0f0'; // Restore original color on mouse out } </script>
  1. Use prompt to read a value from user and display it in the span element.
<title>User Input Display</title> <style> /* CSS styles for the element */ .user-input-span { display: inline-block; padding: 10px; background-color: #f0f0f0; cursor: pointer; } </style>

Click to enter text!

<script> function displayUserInput() { var userInput = prompt('Enter some text:'); if (userInput !== null) { // Check if user clicked OK or Cancel document.getElementById('userInputDisplay').textContent = userInput; } } </script>
  1. Display the mouse X and Y coordinates in a <span> tag when you click on a <h1> tag which contains a paragraph.
<title>Mouse Coordinates Display</title> <style> /* CSS styles for the elements */ #mouseCoordinates { display: inline-block; padding: 5px; background-color: #f0f0f0; } </style>

Click here to show mouse coordinates

This is a paragraph inside the heading.

<script> // Get the heading element var heading = document.getElementById('headingWithParagraph'); // Add click event listener to the heading heading.addEventListener('click', function(event) { // Get mouse X and Y coordinates relative to the document var mouseX = event.pageX; var mouseY = event.pageY; // Get the span element to display coordinates var coordinatesSpan = document.getElementById('mouseCoordinates'); // Update the span content with coordinates coordinatesSpan.textContent = 'Mouse X: ' + mouseX + ', Mouse Y: ' + mouseY; }); </script>
  1. Write a Javascript code for character counts in the textarea.

    Example:

<title>Character Count in Textarea</title> <style> /* Optional: CSS styles for the textarea and character count */ #textareaContainer { margin-bottom: 20px; } #charCount { font-size: 14px; color: #666; } </style>
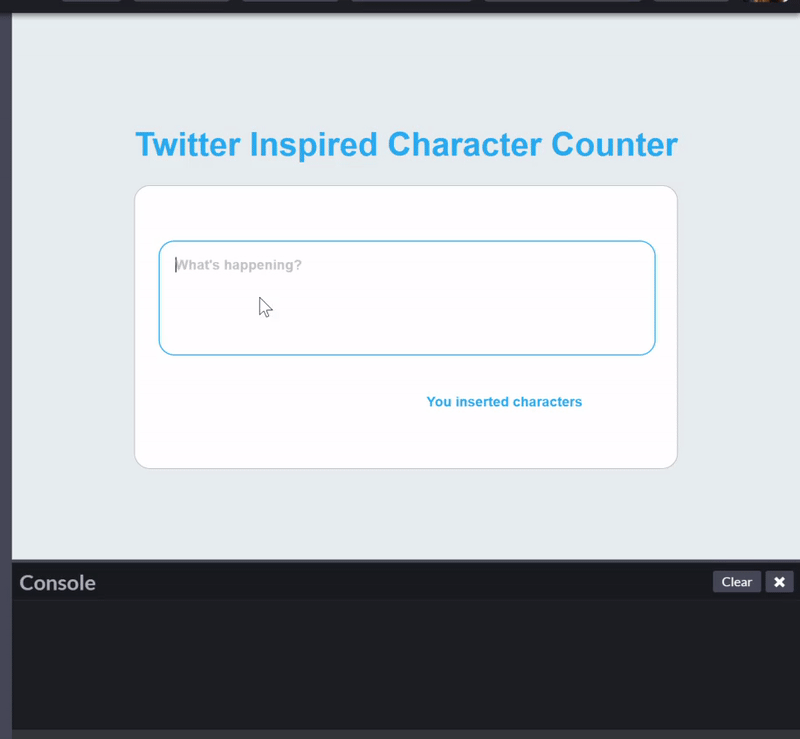
<textarea id="inputText" rows="4" cols="50" placeholder="Type something..."></textarea>
Characters: 0
<script> // Get the textarea element var textarea = document.getElementById('inputText'); // Get the div element where character count will be displayed var charCount = document.getElementById('charCount'); // Add input event listener to the textarea textarea.addEventListener('input', function() { // Get the current value of the textarea var text = textarea.value; // Count the number of characters var count = text.length; // Update the character count display charCount.textContent = 'Characters: ' + count; }); </script>
  1. Convert a given number from decimal to binary or hexadecimal function decimalToBinary(decimalNumber) { return (decimalNumber >>> 0).toString(2); }

// Example usage: var decimalNumber = 123; // Replace with your decimal number var binaryNumber = decimalToBinary(decimalNumber); console.log(Binary representation of ${decimalNumber}: ${binaryNumber});

function decimalToHexadecimal(decimalNumber) { return decimalNumber.toString(16).toUpperCase(); }

// Example usage: var decimalNumber = 123; // Replace with your decimal number var hexadecimalNumber = decimalToHexadecimal(decimalNumber); console.log(Hexadecimal representation of ${decimalNumber}: ${hexadecimalNumber});

  1. With Javascript write a simple from validation
<title>Simple Form Validation</title> <style> .error-message { color: red; font-size: 12px; } </style>

Simple Form Validation Example

Name:


<label for="email">Email:</label><br>
<input type="email" id="email" name="email"><br>
<span id="emailError" class="error-message"></span><br><br>

<input type="submit" value="Submit">
<script> function validateForm() { var name = document.getElementById('name').value; var email = document.getElementById('email').value; var nameError = document.getElementById('nameError'); var emailError = document.getElementById('emailError'); var isValid = true; // Reset error messages nameError.textContent = ''; emailError.textContent = ''; // Validate name if (name.trim() === '') { nameError.textContent = 'Name is required'; isValid = false; } // Validate email if provided if (email.trim() !== '') { // Basic email validation with regex var emailRegex = /^[^\s@]+@[^\s@]+\.[^\s@]+$/; if (!emailRegex.test(email)) { emailError.textContent = 'Invalid email format'; isValid = false; } } return isValid; } </script>
  1. In your HTML Add two buttons, where first button action for full screen mode and the second button for exit from full screen mode.
<title>Fullscreen Mode Toggle</title> <style> #content { height: 300px; /* Example content height */ background-color: #f0f0f0; padding: 20px; text-align: center; } </style>

Fullscreen Mode Toggle Example

This is some example content.

<button onclick="toggleFullScreen()">Enter Fullscreen</button>
<button onclick="exitFullScreen()">Exit Fullscreen</button>
<script> var content = document.getElementById('content'); function toggleFullScreen() { if (!document.fullscreenElement) { content.requestFullscreen().catch(err => { alert(`Error attempting to enable full-screen mode: ${err.message}`); }); } } function exitFullScreen() { if (document.fullscreenElement) { document.exitFullscreen(); } } </script>
  1. When user press any key in your html page show a alert that Invalid Key Pressed, but when user press spacebar show an alert Thank You..!! and close the current window.
<title>Key Press Event Handling</title>

Press any key to see the alerts

<script> // Function to handle key press events function handleKeyPress(event) { var keyCode = event.keyCode || event.which; // Get the key code if (keyCode === 32) { // 32 is the key code for spacebar alert('Thank You..!!'); window.close(); // Close the current window } else { alert('Invalid Key Pressed'); } } // Add event listener for key press events on the whole document document.addEventListener('keypress', handleKeyPress); </script>
  1. When a cursor is moved over an content, allow the user to edit the content in HTML page.
    NOTE: Input element should not be used.
<title>Edit Content on Hover</title> <style> .editable-content { padding: 10px; border: 1px solid #ccc; display: inline-block; cursor: pointer; } </style>
Hover over this content to edit it.
<script> function makeEditable(element) { element.setAttribute('contenteditable', true); element.focus(); // Automatically focus on the element to start editing } function makeNonEditable(element) { element.removeAttribute('contenteditable'); } </script>