This repo based on esp nofrendo. But I really too much work and upgraded it Original Repo : https://github.com/espressif/esp32-nesemu/tree/master/components/nofrendo
A high-performance, DIY handheld NES (Nintendo Entertainment System) emulator powered by the ESP32-S3 microcontroller. This project features high-quality audio via I2S, smooth rendering on an ST7789 display, and games loaded directly from an SD card.
Build your own following the step-by-step guide!https://youtu.be/wruJ-BESnX8
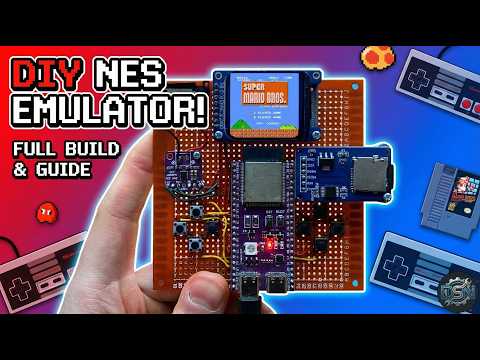
Click the image above to watch the full tutorial on YouTube.
- Full Speed Emulation: Runs NES games smoothly thanks to the ESP32-S3's dual-core power.
- High-Quality Audio: Crystal clear game sounds using the MAX98357A I2S amplifier.
- Storage: Load hundreds of ROMs from a Micro SD Card.
- Display: Vibrant colors using the ST7789 IPS TFT display.
- Controls: Full 8-button support (D-Pad + A/B + Start/Select).
To build this project, you will need the following components:
- Microcontroller: ESP32-S3 (DevKit or bare module)
- Display: ST7789 SPI TFT Module (e.g., 1.69")
- Audio: MAX98357A I2S Amplifier Module + 3W 4Ω Speaker
- Storage: Micro SD Card Reader Module + Micro SD Card (formatted FAT32)
- Controls: 8x Tactile Push Buttons (6x6mm)
- Power: LiPo Battery & Charging Circuit (Optional/TP4056)
- Wires & Perfboard: For connections.
Below is the connection diagram for the components.
⚠️ NOTE: Please verify these pin assignments inhw_config.h(or your main definition file) before flashing.
| Display Pin | ESP32-S3 GPIO | Function |
|---|---|---|
| VCC | 3.3V | Power |
| GND | GND | Ground |
| SCL (SCLK) | GPIO [12] | SPI Clock |
| SDA (MOSI) | GPIO [11] | SPI MOSI |
| RES (RST) | GPIO [9] | Reset |
| DC | GPIO [15] | Data/Command |
| SD Module Pin | ESP32-S3 GPIO | Function |
|---|---|---|
| CS | GPIO [41] | Chip Select |
| MOSI | GPIO [2] | Shared with Display |
| CLK | GPIO [42] | Shared with Display |
| MISO | GPIO [1] | SPI MISO |
| VCC | 3.3V | Power |
| GND | GND | Ground |
| Amp Pin | ESP32-S3 GPIO | Function |
|---|---|---|
| LRC | GPIO [6] | Left/Right Clock |
| BCLK | GPIO [5] | Bit Clock |
| DIN | GPIO [4] | Data In |
| VCC | 5V / 3.3V | Power |
| GND | GND | Ground |
| Button | ESP32-S3 GPIO |
|---|---|
| UP | GPIO [13] |
| DOWN | GPIO [14] |
| LEFT | GPIO [8] |
| RIGHT | GPIO [17] |
| A | GPIO [45] |
| B | GPIO [21] |
| START | GPIO [47] |
| SELECT | GPIO [39] |
(Connect the other side of all buttons to GND)

- Format your Micro SD card to FAT32.
- Copy your
.nesgame files into root folder. - Insert the SD card into the module.
- Clone the Repository:
git clone [https://github.com/derdacavga/Esp32-S3-nes-emulator-by-DSN.git](https://github.com/derdacavga/Esp32-S3-nes-emulator-by-DSN.git)
- Open in IDE:
- Open the project using Arduino IDE.
- Install Libraries:
- Ensure you have installed the necessary libraries (e.g.,
Audio, etc.)library.properties.
- Ensure you have installed the necessary libraries (e.g.,
- Configure:
- Check the pin definitions in the code to match your wiring.
- Flash:
- Connect your ESP32-S3 via USB.
- Select the correct Board and Port.
- Upload the code.
| Button | Action |
|---|---|
| D-Pad | Navigate Menu / Move Character |
| A | Confirm / Jump |
| B | Back / Attack |
| Start | Pause Game |
| Select | Game Mode / Menu |
If you found this project helpful, please consider:
-
Subscribing to the YouTube Channel.
-
Giving the video a Like.
-
Starring this GitHub Repository!
-
Patreon: [https://www.patreon.com/c/dsnIndustries]
Happy Making!
- Maze Escape: https://play.google.com/store/apps/details?id=com.DsnMechanics.MazeEscape
- Air Hockey: https://play.google.com/store/apps/details?id=com.DsnMechanics.AirHockey
- Click Challenge: https://play.google.com/store/apps/details?id=com.DsNMechanics.ClickChallenge
- Flying Triangels: https://play.google.com/store/apps/details?id=com.DsnMechanics.Triangle
- SkyScrapper: https://play.google.com/store/apps/details?id=com.DsnMechanics.SkyScraper