CLI buddy to help you with code review of GitLab Merge Requests, by using AI tools like GitHub Copilot CLI and Gemini CLI.

Install the npm package
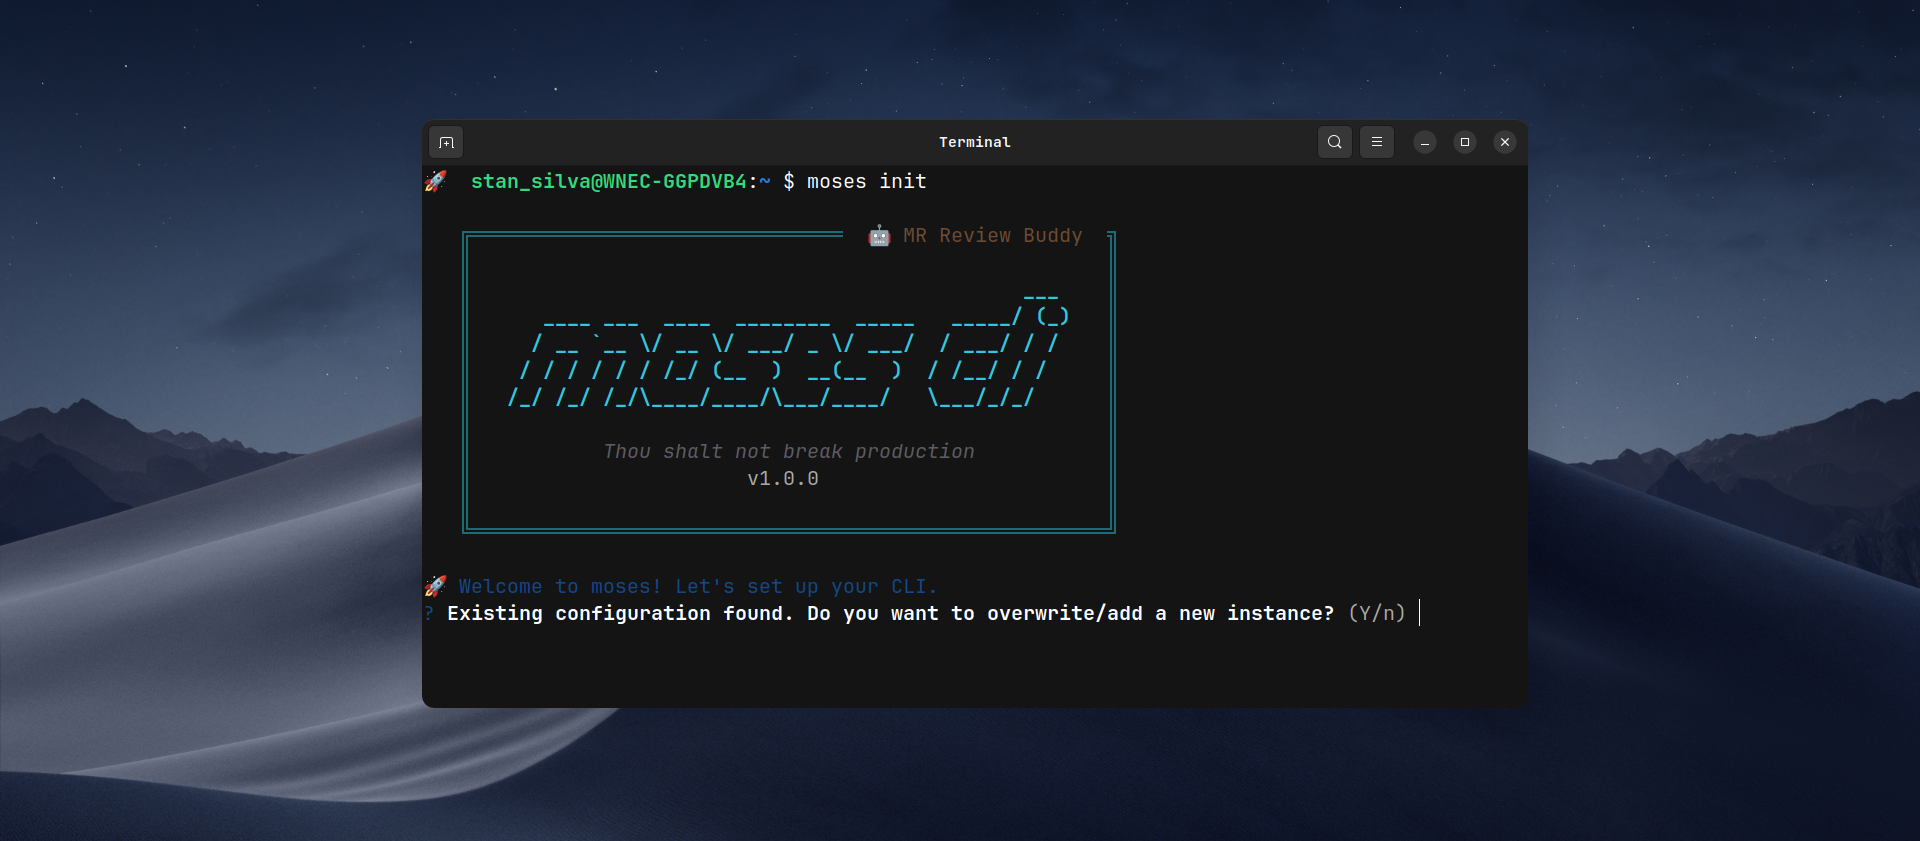
npm install -g moses-climoses initThe command:
- Configures GitLab instance (cloud or self-hosted)
- Validates token via
/api/v4/userAPI - Selects AI tool
- Saves config in
~/.moses-cli/config.jsonwith mode600
The primary way to use Moses is by validating a Merge Request:
moses validate https://gitlab.your-domain.com/group/project/-/merge_requests/123| Command | Description |
|---|---|
moses init |
Interactive initial setup (GitLab instances, AI tools, etc.) |
moses validate <url> |
Fetches and analyzes a Merge Request, providing AI feedback |
moses gitlab list |
Lists all your configured GitLab instances |
moses gitlab default |
Switches the active default GitLab instance |
moses config feedback-style |
Updates the AI's feedback tone (friendly, pragmatic, etc.) |
moses config diff-limit |
Changes the maximum allowed line changes in a single diff |
moses config skills |
Opens your global skills folder to manage review instructions |
moses config reset |
Wipes all local configurations and starts fresh |
To see more details and options for any command, run:
moses helpor for a specific command:
moses validate --helpFlow:
- Parses MR URL
- Fetches MR data + diffs + commits from GitLab API
- Smart Repository Lookup: Detects if your current directory matches the project or offers to clone/download the repository for deeper context
- Context Gathering:
- Skill Selection: Allows you to choose a custom instruction file from
~/.moses-cli/skills/to guide the AI analysis - Internal Repository Context: Scans the repository for project-specific instructions (e.g.,
copilot-instructions.md,README.md)
- Skill Selection: Allows you to choose a custom instruction file from
- Concatenates all context + optional prompt + MR diff and sends to configured AI tool
- Displays response in real-time
Like Moses guiding his people to the promised land, moses validates every merge request, ensuring your most precious asset, your code, reaches production safely.
- Fast analysis: Fetches diffs directly from GitLab API
- Multi-AI: Focus on support for GitHub Copilot CLI and Gemini CLI
- Smart Context: Combines global rules with your project's internal documentation
- Comprehensive: Generates structured markdown with stats, commits, and diffs
- Interactive setup with token validation
- Support for multiple GitLab instances (gitlab.com + self-hosted)
- Automatic validation of AI tool installation
- Real-time streaming of AI analysis
- Configurable feedback style (friendly, pragmatic, offensive)
- Configurable diff changes limit with safe interruption
- Internal repository context: Automatically scans for
copilot-instructions.md,.github/copilot-instructions.md,claude.md,.clauderc, andREADME.mdto feed the AI with project-specific rules. - Auto-repository cloning: Detects if you're outside the project and offers to download it to extract internal context.
- Interactive Skills: Prompt-based selection of custom instruction sets.
- Optional extra prompt context and manual instruction-file selection.
- Elegant error handling with contextual messages
pnpm install
pnpm build
node dist/bin/moses.jspnpm run check| Tool | CLI | Installation |
|---|---|---|
| GitHub Copilot | copilot |
npm install -g @github/copilot |
| Google Gemini CLI | gemini |
npm install -g @google/gemini-cli |
These two CLIs are the ones currently tested in this project.
Want to help? Contributions to support Claude Code and Codex CLI are very welcome.
- Fork the project
- Create a branch for your feature (
git checkout -b feature/AmazingFeature) - Commit your changes (
git commit -m 'Add some AmazingFeature') - Push to the branch (
git push origin feature/AmazingFeature) - Open a Pull Request
This project is licensed under the MIT License. See the LICENSE file for details.